Installation Guide of AAMail Database SQL Server 2000
1. SQL Server 2000 Installation Steps
1) Double click "autorun.exe", it will open the SQL Server 2000 setup program interface, and then click "SQL Server 2000 Components" (Figure 1-1).
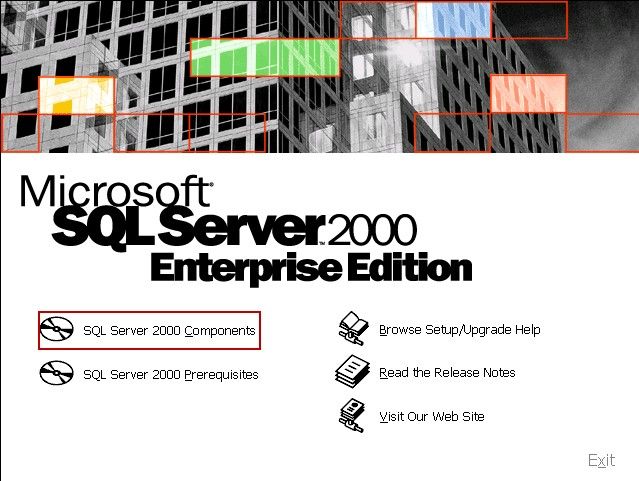
Figure 1-1
2) In the "Installation Components" window, click the "Install Database Server" (Figure 1-2).
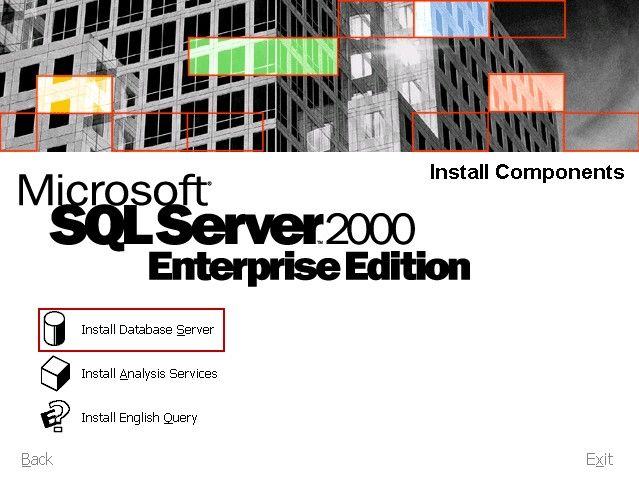
Figure 1-2
3) In the pop up "SQL Server 2000 SP2 and below" dialog box, click the "Continue" button (Figure 1-3).
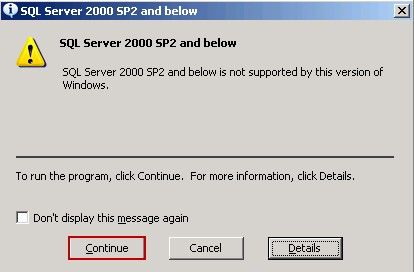
Figure 1-3
4) In the pop up "Computer Name" dialog box, select the "Local Computer" radio button, and then click the "Next" button (Figure 1-4).
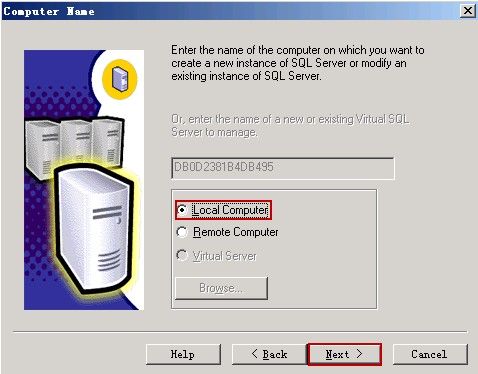
Figure 1-4
5) In the pop up "Installation Selection" dialog box, select the "Create a new instance of SQL Server, or install Client Tools" radio button, and then click the "Next" button (Figure 1-5).
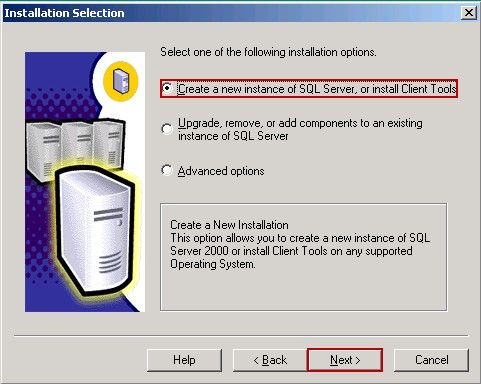
Figure 1-5
6) In the pop up "User Information" dialog box, type the name and company into their corresponding edit boxes, and then click the "Next" button (Figure 1-6).
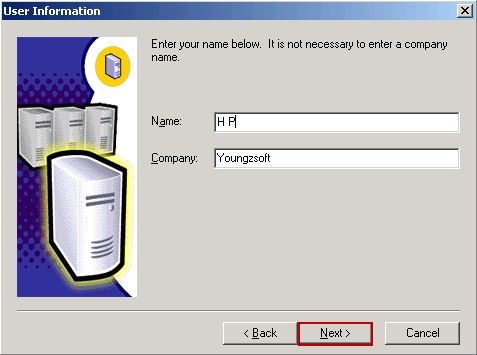
Figure 1-6
7) In the pop up "Software License Agreement" dialog box, click the "Yes" button (Figure 1-7).
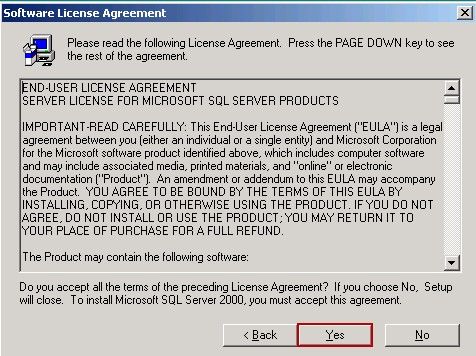
Figure 1-7
8) In the "CD-Key" dialog box, enter the product key, and then click the "Next" button.
9) In the "Installation Definition" dialog box, select the "Server and Client Tools" radio button, and then click the "Next" button (Figure 1-8).
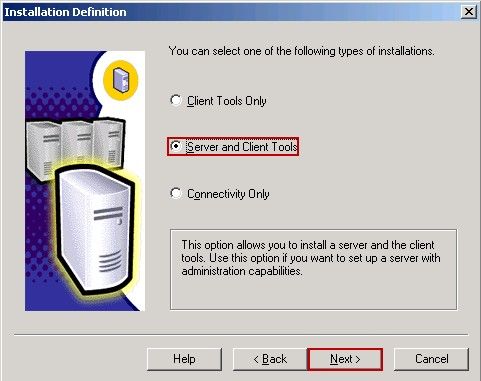
Figure 1-8
10) In the "Setup Type" dialog box, select the "Typical" radio button, and then click the "Next" button (Figure 1-9).
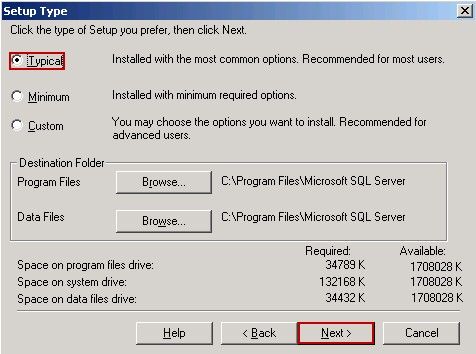
Figure 1-9
11) In the "Services Accounts" dialog box, select the "Use the Local System account" radio button, and then click the "Next" button (Figure 1-10).
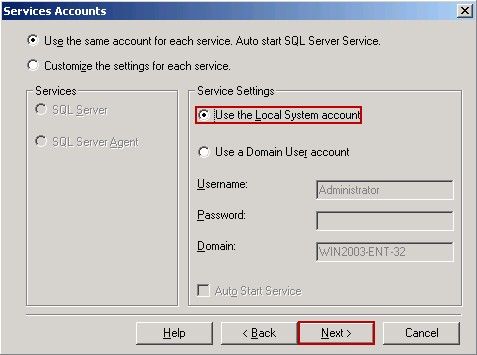
Figure 1-10
12) In the "Authentication Mode" dialog box, select the "Mixed Mode (Windows Authentication and SQL Server Authentication)" radio button, then add password for the sa login, and click the "Next" button (Figure 1-11).
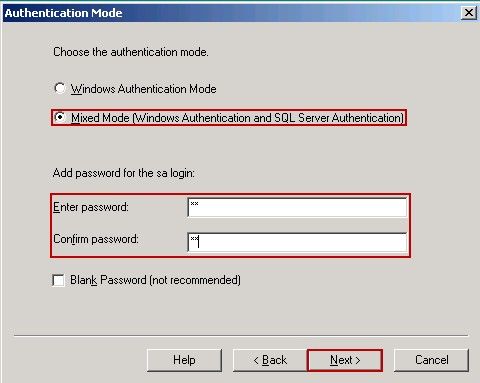
Figure 1-11
13) In the "Choose Licensing Mode" dialog box, select the "Processor License for" radio button, and then click the "Continue" button (Figure 1-12).
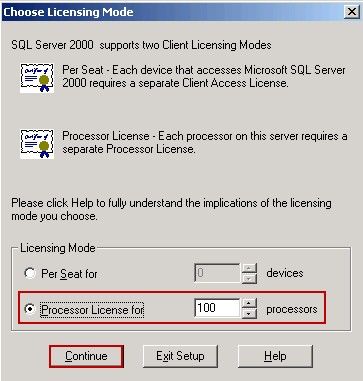
Figure 1-12
14) Microsoft SQL Server 2000 installation process (Figure 1-13).
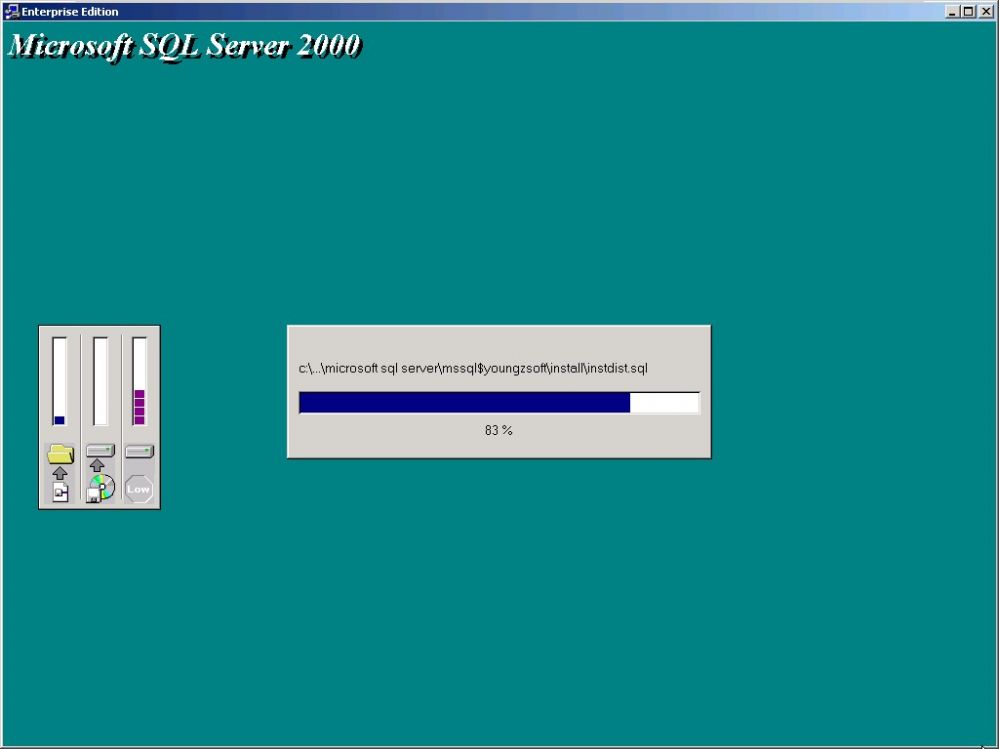
Figure 1-13
Up to this point, the installation of SQL Server 2000 is complete.
2. Start the Service
1) Click "Start" -> "All Programs" -> "Microsoft SQL Server" -> "Service Manager", then it will open the "SQL Server Service Manager" dialog box.
2) Select the "Server" and "Services" (normally keep the default settings), and then click the "Start/Continue" button (Figure 1-14).
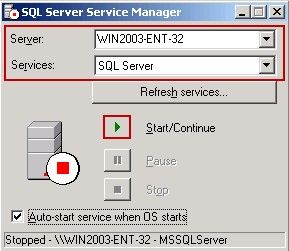
Figure 1-14
3) Service started (Figure 1-15).
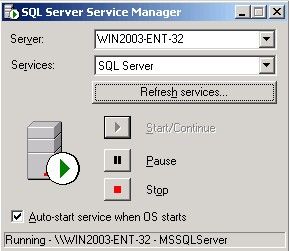
Figure 1-15
For details of SQL Server 2005 installation steps, please refer to "How to Install SQL Server 2005 Express".
For details of SQL Server 2008 installation steps, please refer to "SQL Server 2008 Installation Steps".
Related: