How to Apply Share Mail Server Mode
There are two methods to set "Share Mail server mode".
Method 1
When creating a domain name, click the "Domain type" combo box, and select "Share mail server mode" (Figure 1-1).
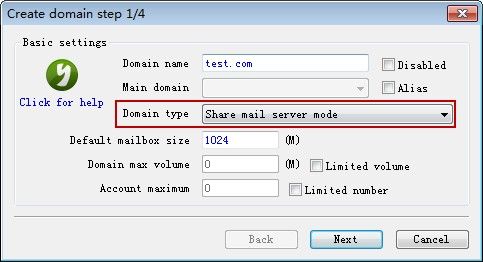
Figure 1-1
Method 2
1) In the account list, double click the "mail domain" (such as double click "test.com") (Figure 1-2).
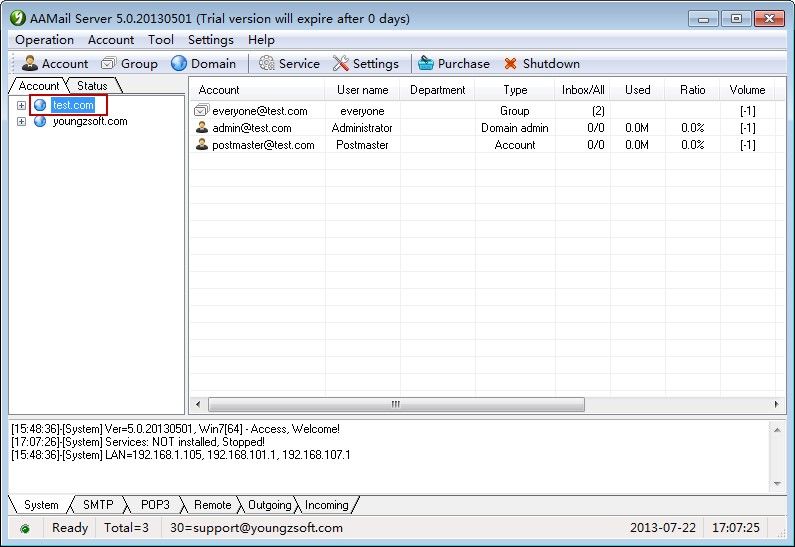
Figure 1-2
2) It will pop up the "Domain settings" dialog box, click the "Domain type" combo box, and select "Share mail server mode", and then click the "OK" button to complete the operation (Figure 1-3).
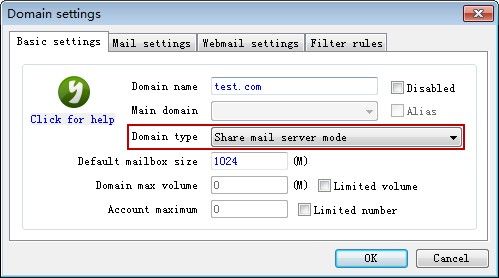
Figure 1-3
After selected the "Share mail server mode", the next step is to create special manager account and special local staff account.
1.1 Create Special Manager Account
Suppose the special manager account is "sales@share.com".
1) In the process of creating an account, click the "Account type" combo box, and select "Special manager account". The other steps are the same as creating an account (Figure 1-4). (If the account has been created, you can edit the accoun, and then select "Special manager account").
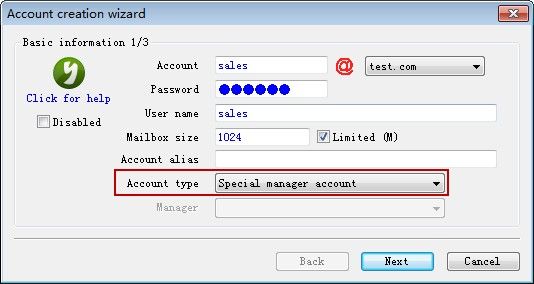
Figure 1-4
2) After created the special manager account, you can double click the account, then, it will pop up the "Account" dialog box, click the "More rules" tab, you can set the special manager account's mail transfer properties here (Figure 1-5).

Figure 1-5
Auto transfer unnamed manager mails to all its staff: If the special manager account received a mail as "Zhangsansales@share.com", then the email address has been specified a name ("Zhangsan"), so AAMail will auto transfer this email to Zhangsan. If the special manager account received a mail as "sales@share.com", there is no specified name, then you can choose whether to auto transfer unnamed manager mails to all its staff.
1.2 Create Special Local Staff Account
1) After created special manager account, you can create a special local staff account.
2) In the process of creating an account, click the "Account type" combo box, and select "Special local staff account". And then click the "manager" combo box, select special manager account (such as "sales@share.com"). Other steps are the same as creating an account (Figure 1-6).
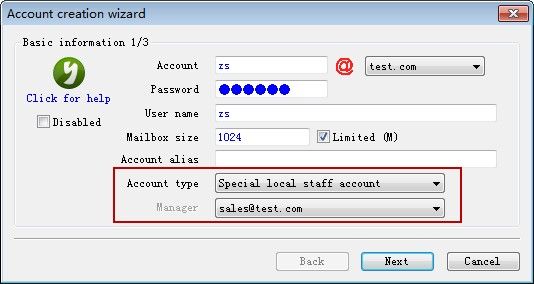
Figure 1-6
3) After created a special local staff account, you can double click the account, then, it will pop up the "Account" dialog box, click the "More rules" tab, you can set the relevant checking parameters of the special local staff account here (Figure 1-7).
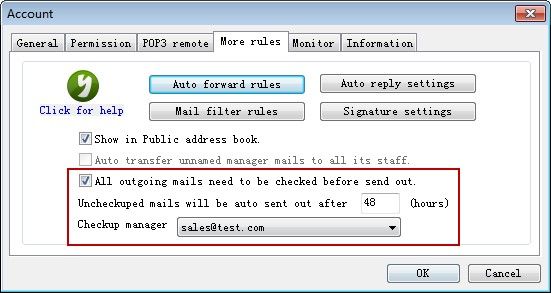
Figure 1-7
All outgoing mails need to be checked before send out: When this check box is selected, the special local staff account's outgoing mails need to be checked, after approved by the special manager account, these mails shall be sent out. And the checkup manager needs to log in Webmail to complete the checking process.
Uncheckuped mails will be auto sent out after (hours): In the edit box, if you enter the number "0", the mail will always in check pending; If you enter the number "48", then once the mail is not checked after 48 hours, it will be auto sent out.
Checkup manager: The checkup manager can be the same account with manager, also, it can be another manager account. After the checkup manager logged in Webmail, he or she can check the outgoing mails (such as All send and Reject send).
After operated the above three steps, you can apply the share mail server mode then. This application will not only help you set a unified external mail account, but also help you check mails, therefore, during the process of using mail system to send and receive mails in the company, you don't have to worry anything.
Related: